by Oliver Oct 25,2025
Game mods can enhance your Ready or Not experience, but they may also introduce stability issues and compatibility problems when playing with unmodded friends. Here's a complete guide to removing all mods from Ready or Not.
Whether you installed mods via Nexus Mod Manager or mod.io, removing them follows the same straightforward process:
Launch Ready or Not. Navigate to the Mod Menu and unsubscribe from all mods to prevent automatic redownloads. Exit the game. In Steam, right-click Ready or Not in your Library → Properties → Installed Files → Browse. Open Content > Paks and delete all contents plus the folder itself. Press Windows+R, type %localappdata% → locate the Ready or Not folder → delete the Paks subfolder (Ready or Not/Saved/Paks).
To ensure complete removal, verify your game files through Steam (Properties > Installed Files > Verify Integrity of Game Files). This checks for potential remaining modded files.
For optimal results, consider reinstalling the game if you don't plan to use mods again – though this step remains optional.
Related: Solving 'Serialization Error Action Needed' in Ready or Not
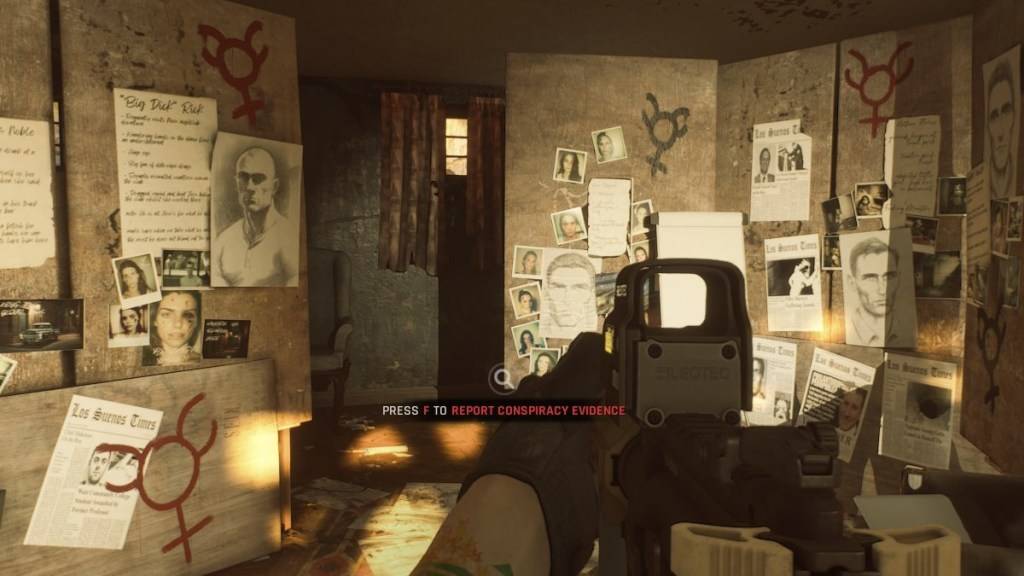
While Ready or Not offers excellent mod support with accessible installation, community-created content can sometimes negatively impact gameplay.
Popular mods may introduce unintended bugs or glitches due to compatibility issues. Many technical problems resolve after removing mods entirely.
Mods also limit multiplayer options – you can only play with users who have identical mod configurations. New players typically require a mod-free environment.
Ready or Not is currently available on PC.
Girls Frontline 2: Exilium Global Website Goes Live, Along With Its Socials!
Marvel Rivals: Understanding Bussing and Catching It
New Game Plus in Assassin's Creed Shadows: Confirmed?
Top Skills to Prioritize for Yasuke in Assassin’s Creed Shadows
Assassin’s Creed Shadows Movements Reviewed by Two Parkour Athletes
Death Stranding 2 Release Date Unveiled in Massive Trailer
Pokemon GO Leak Teases New Adventure Effects
Amazon Music Unlimited: Free 3-Month Trial Available

Charades and other party games - Lexis Pexis
Download
Brain Boom - Tricky Puzzles game, IQ Challenge
Download
Rezident slot safes
Download
Poker Mania
Download
EA Sports FC Mobile 25 (FIFA Fútbol)
Download
MainCraft: build & mine blocks
Download
Red Cherry Slot Machine
Download
Hex Kingdom
Download
Starlight Princess Slot Demo
Download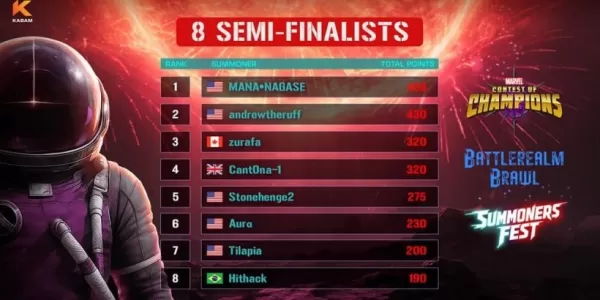
Marvel Contest Semi-Finalists Revealed for Battlerealm Brawl
Apr 25,2026
Endless Grades: Pixel Saga – The Best Tips & Tricks To Boost Your Progression
Apr 22,2026
Foretales: Card Game Shapes Apocalyptic Fate
Apr 20,2026
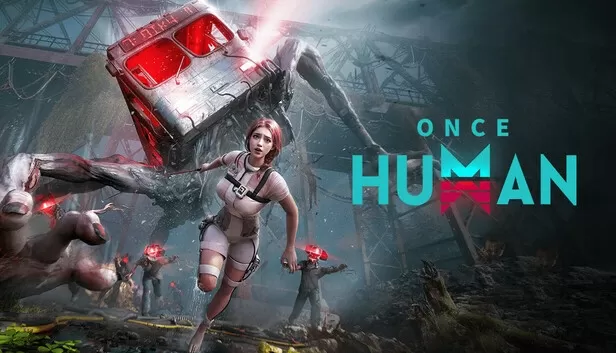
Once Human: Best Builds for PvE and PvP
Apr 17,2026
Galaxy Defense Fortress TD: Dominate with Strategy
Apr 16,2026
 Category